|
|
 |
|
|
|
|
#1 | ||
|
Challenge Accepted!
Join Date: Jan 2006
Location: Under the Southern Cross
Posts: 882
|
Headlight lens Correction
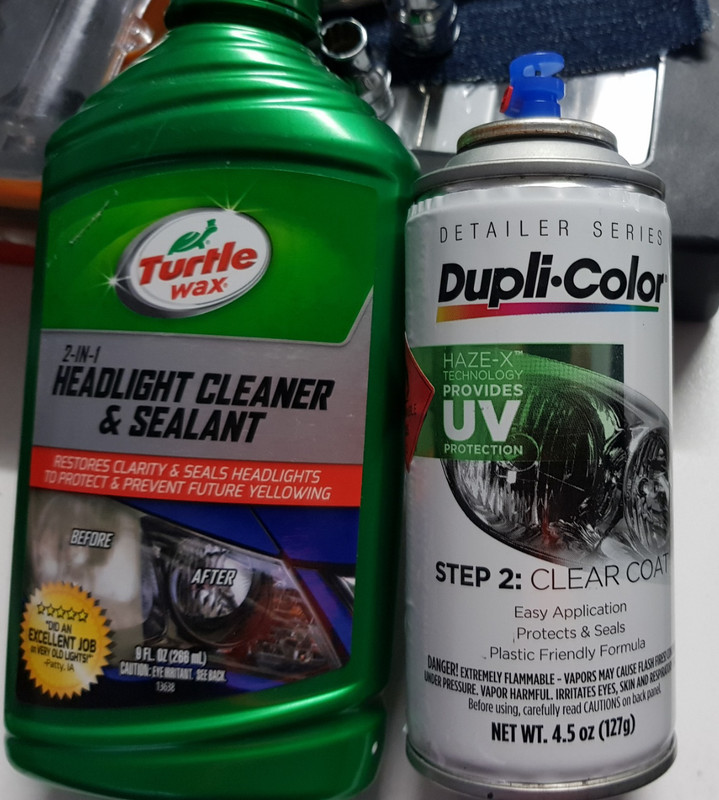
My pet peeve is looking at my Mondeo with oxidised headlights. It makes a vehicle look so much worse that what it actually is. So I went to fix this issue. Here is the RHS lens (LHS is the same). The missus having the vehicle outside everyday has taken it's toll on the plastic lenses.  You're essentially sanding all the blemishes away getting ready for polishing, then after a stellar polishing finishing off with a protective coating. Simply polishing the lens isn't finished, that will only last a short time (depending on the time in the full sun). There are kits that have all the products you need, I've used Turtle wax Headlight restoring kit before on another vehicle and it was great, it had sanding pads/lubricant/compound/UV protective wipes. I bought two Products this time around (on sale from Repco) in advance as I knew this task was coming up. Products: 1200 Wet and Dry. 2000 Grit Sandpaper. (You can get 1500 grit and add that step in the middle) Headlight compound (more so plastic polish) Turtle Wax headlight cleaner and sealant. A Protective measure, Dupli-colour Step2 clear coat. (you don't need a pic of the sandpaper)  My technique is to wet sand the lens in a horizontal direction, from top to bottom, heavy spraying with water to lubricate as you go. Heaps of yellowing plastic will be removed so flush as you go. Then do it vertically to knock the highs off the last pass. I do this twice, but if your lens is heavily oxidised, then go again. I know when I'm done, when I can see (all through the lens) the reflector with some clarity when spraying it with water, ignore the look when it dries, it looks bad but it's on track. Do this again with 2000 grit paper, again you'll know when you're done, when this time it'll look even clearer through the lens. You are now finished with the sanding part. Next up Polishing. You can do this by hand, but my god, it's hard going on the hands and arms. To speed this up and make it easier on me I used my ToolPro brushless Polisher it's not a Dual Action jobby, but I know how to use it. I coat the lens with the compound and the cut and polish pad too, with the speed setting to 6 (it's lowest). I angle the pad so I get a vertical contact polish, and go over the lens, from side to side with an overlapping track, till the it's done from top to bottom. I go slow, and I go twice before changing angle like the sanding method and do similar again. By now you can see the huge improvement, and if need be a light spray of water to help lubricate the compound, and prevent overheating. After a few cycles of this, I wipe it clean and investigate. Polishing is complete and on to the Protection phase. This is the easiest part of the whole process. Spray from a distance with a medium to heavy coat, it's designed to flow (think auto levelling) and drip. I use bugger all of the product because it doesn't need much for a complete coating. I set it aside and about 40mins later I come back to look at it, and it's dry with a hard shell feel. Crystal clear and looking brilliant. I put them back in the car and take a pic.   Full disclosure I did the first lens (LHS) twice, I thought I could get away with 1200 grit, a polish, and the clear coat, but I didn't like the look of the finished result and because I sprayed the lens in the garage, I could spot contamination nibs on the clear coat...rookie move, here is the result for the first attempt Would you be happy with this? 
__________________
Undecided replacement... [SOLD] -2009 MB Mondeo Zetec TDCI- [SOLD] |
||
|
|

|